Welcome to BeautyFashionSta — a vibrant space created for every woman who believes that style is a form of self-expression and beauty is a celebration of individuality.
Makeup Mistakes You Should Avoid for a Truly Flawless Look
We’ve all had those mornings. You spend 20 minutes doing your makeup, look in the mirror, and something just feels… off. The foundation looks cakey, the eyeliner isn’t straight, or the whole look somehow ages you instead of elevating you. The frustrating part? These problems usually come down to a handful of avoidable makeup mistakes that are incredibly common — and surprisingly easy to fix.
Whether you’re a complete beginner or someone who’s been wearing makeup for years, these pitfalls catch almost everyone at some point. Let’s go through each one, explain exactly why it goes wrong, and give you the precise fix so your next look is everything you’re hoping for.

The Most Common Makeup Mistakes — And How to Fix Every One
Mistake 1: Wrong Foundation Shade or Undertone
This is the most visible mistake you can make. A foundation that’s too light creates an ashy, washed-out look. Too dark and you get a harsh mask effect. And the wrong undertone — wearing a yellow-based foundation on cool-toned skin, for example — makes the whole face look unnatural.
Always test foundation on your jawline in natural daylight. The right shade literally disappears into your skin.
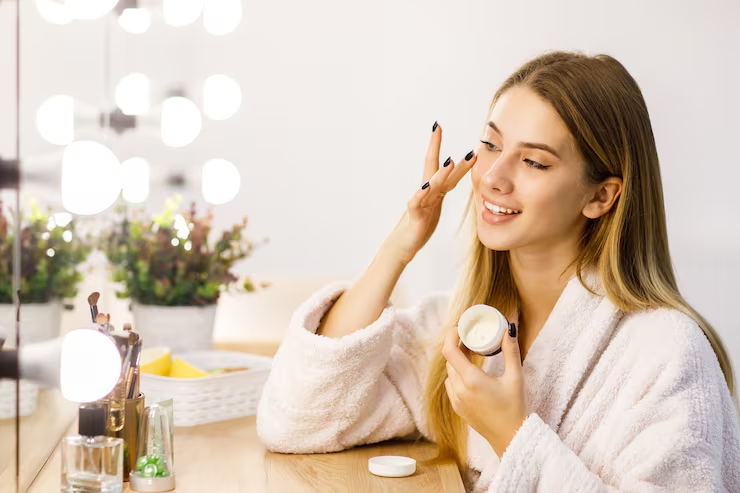
Mistake 2: Skipping Primer
Foundation without primer is like painting a wall without the base coat — it goes on uneven, settles into pores and fine lines, and doesn’t last through the day. Primer creates a smooth, adhesive surface that makes everything sit better and stay longer.
Apply a pea-sized amount of primer after moisturizer. Let it sit for 60 seconds before applying foundation on top.
Mistake 3: Not Blending Eyeshadow Properly
Hard, unblended edges are the hallmark of a rushed or underdeveloped eye look. Shadow that sits in a harsh stripe across the lid rather than building softly creates an unflattering, costume-like effect regardless of how beautiful the shades are.
Use a clean fluffy blending brush in windshield-wiper motions to diffuse all edges. Blend until you can’t see where one shade ends and the next begins.
Mistake 4: Applying Blush in the Wrong Place
Blush applied too low on the face (below the cheekbone) can drag your features downward and create a tired, aged appearance. Blush placed too close to the nose can make you look ill rather than flushed and healthy.
Smile gently and apply blush to the apples of your cheeks, sweeping up and back toward your temple in a “C” shape.
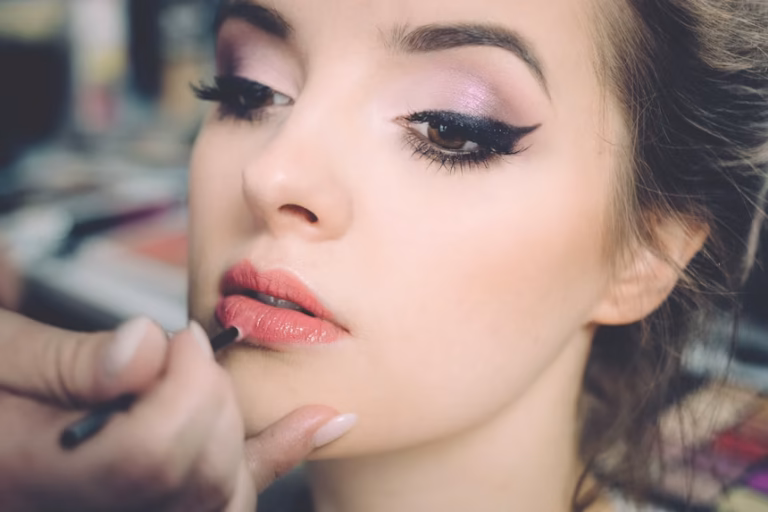
Mistake 5: Overdrawing Lips Without Blending
Overdrawing lips slightly for fullness is a classic technique — but when the liner is starkly visible as a ring around the lip without any blending, it looks harsh and artificial. The liner should act as a structure guide, not a separate visible line.
After lining, blend the liner inward slightly with a brush or fingertip before applying lipstick over the top.
Mistake 6: Too Much Highlighter in the Wrong Spots
Highlighter is meant to mimic where light naturally hits the face. But piling it on the nose, under-eyes, and cheeks without precision creates a look that’s more greasy than glowing — and can draw attention to texture and pores.
Apply highlighter only to the high points: tops of cheekbones, cupid’s bow, brow bone, and the bridge of the nose. Use a light hand — build gradually.
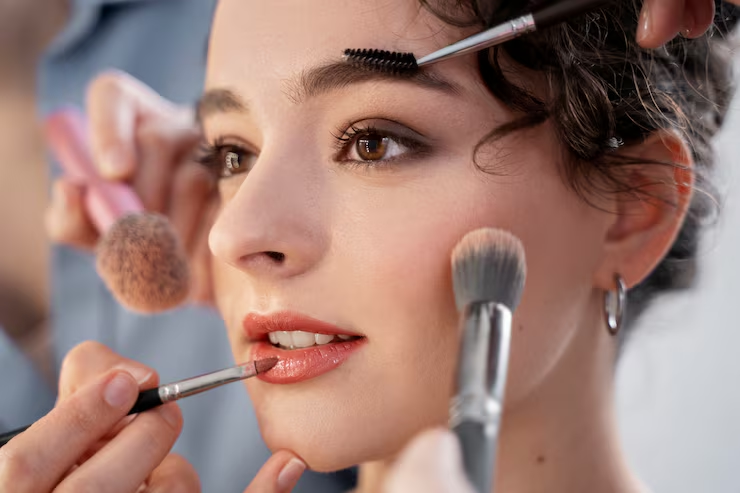
Mistake 7: Using the Wrong Tools (or No Tools)
Applying foundation with fingers works in a pinch, but brushes and damp beauty sponges create a much more seamless finish. Using the wrong brush for the wrong product — like a flat foundation brush for loose powder — also creates patchy, inconsistent results.
Use a damp beauty sponge for a skin-like foundation finish. Fluffy brushes for powder and blush. Precise flat brushes for concealer.
Mistake 8: Ignoring the Neck and Décolletage
A beautifully blended face that ends abruptly at the jaw with no transition to the neck creates a jarring, mask-like effect. This is one of the most noticeable makeup mistakes in photos and under certain lighting.
Always blend foundation and bronzer slightly down the neck. If you wear body makeup or SPF with color, extend that down too.
Before vs After: Right and Wrong Approaches
❌ The Mistake
Applying powder foundation over a dry, unprepped face — settles into fine lines, looks cakey and heavy within an hour
✓ The Fix
Moisturize, prime, apply light layers of foundation, set with translucent powder only in oily zones
❌ The Mistake
Concealing dark circles with concealer darker than your skin, making them look deeper and more noticeable
✓ The Fix
Use a peach or salmon color corrector first (counteracts blue/purple), then apply your regular concealer on top
Mistakes That Age Your Look
⚠️ Aging Makeup Habits to Stop Now
- Heavy matte powder all over: Matte textures cling to dry patches and fine lines, emphasizing them. Use dewy products on mature skin.
- Dark, heavy lip liner: On mature lips, dark liner without blending exaggerates lip lines and can bleed into fine lines around the mouth.
- Thick, heavy brows: Brows frame your face. Overfilling them creates heaviness. Use light, hair-like strokes for the most natural and flattering result.
- Too-cool toned foundation: As we age, skin takes on more yellow tones. A too-cool foundation can look ashy and highlight signs of aging rather than disguising them.
Pro Makeup Artist Tips for a Flawless Finish
🎬 Backstage Secrets From the Pros
- Set lipstick with translucent powder: Apply lipstick, place a tissue over lips, dust powder through the tissue. This dramatically extends wear time without affecting color.
- Use setting spray like a pro: Spritz setting spray onto your beauty sponge before applying foundation — it gives a much more natural, skin-like finish than applying it last.
- The “E” and “3” brow technique: Think of the letter E when shaping brows — the three prongs point toward the start, arch, and end of the brow. This gives perfect proportions every time.
- Bake your concealer: After applying under-eye concealer, dust a generous amount of loose powder and let it sit for 5–10 minutes before brushing away. The “baking” method creates a flawless crease-free finish.
Pair these makeup skills with the right colors — see our guide on how to choose makeup for your skin tone for maximum impact.
💡 The Most Underrated Makeup Tool: Clean Brushes
Dirty makeup brushes are one of the most overlooked causes of patchy, muddy makeup — and breakouts. Clean your foundation and concealer brushes weekly, powder brushes every 2 weeks. A quick spray with brush cleaner between uses is enough for day-to-day hygiene.
Frequently Asked Questions
Q: How do I stop my foundation from oxidizing and turning darker?
Oxidation (foundation turning darker after application) is caused by air reacting with the formula. Test a foundation on your jaw and wait 20 minutes before purchasing. You may need a shade slightly lighter to account for oxidation. Primer and setting spray can also slow the process.
Q: What’s the correct order to apply makeup products?
The general order: Skincare → Primer → Color corrector → Foundation → Concealer → Contour/Bronzer → Blush → Highlighter → Eye makeup → Powder → Setting spray. Eyeshadow can go before or after foundation — before is neater, after lets you clean up fallout easily.
Q: Why does my mascara always smudge?
Mascara smudging is usually caused by oily skin or eyelids, applying too many coats before it dries, or using an old formula. Try an eye primer on the lids, use a waterproof or tubing mascara, and allow each coat to dry completely before adding another.
Q: How do I make my makeup last all day?
The keys to longevity: a good mattifying primer for oily areas, thin layers rather than thick application, setting with translucent powder, and finishing with a quality setting spray. Midday touch-ups with blotting paper (not more powder) help maintain freshness.
Q: Is contouring necessary for everyday makeup?
Not at all. Contouring is great for photography, special events, or if you enjoy it — but for everyday wear, a simple blush and bronzer application creates all the dimension most people need. Keep it light and natural-looking for day-to-day.
Every Mistake Is Just a Lesson in Disguise
The most important thing to know about makeup mistakes? Everyone makes them — including professionals. The difference is that with the right knowledge, you can identify them in the mirror before you walk out the door and fix them instantly. The tips in this guide aren’t just corrections — they’re upgrades to your entire approach.
Start by focusing on one or two common mistakes that resonate most with your current routine. Nail those, then add the next layer. Within weeks, you’ll notice a dramatic difference in how polished and put-together your everyday look feels — and more importantly, how confident you feel wearing it.
Discover More Beauty & Makeup Guides →